Efficient home management involves promptly addressing common issues like water leaks and leaky faucets. This comprehensive guide explores DIY methods for discovering and fixing water leaks in your home, offering practical insights to identify sources and take corrective action. Additionally, we’ll delve into a step-by-step tutorial for repairing a leaky faucet, empowering you to save water and money. While these DIY approaches are practical for common problems, seeking professional assistance is recommended for complex issues.

Detecting Water Leaks:
Detecting water leaks in your home is crucial to prevent potential damage and conserve water. Here’s a step-by-step guide to help you in your quest:
- Visible Signs of Water Damage: Examine your home for visible signs of water damage, especially in trouble spots like sinks, plumbing fixtures, water heaters, and basements. Look for water stains, discoloration, or warped surfaces.
- Water Meter Monitoring: Turn off all water-consuming appliances and faucets. Check the water meter reading. Any changes in the meter reading when no water is being used could indicate a potential leak in your plumbing system.
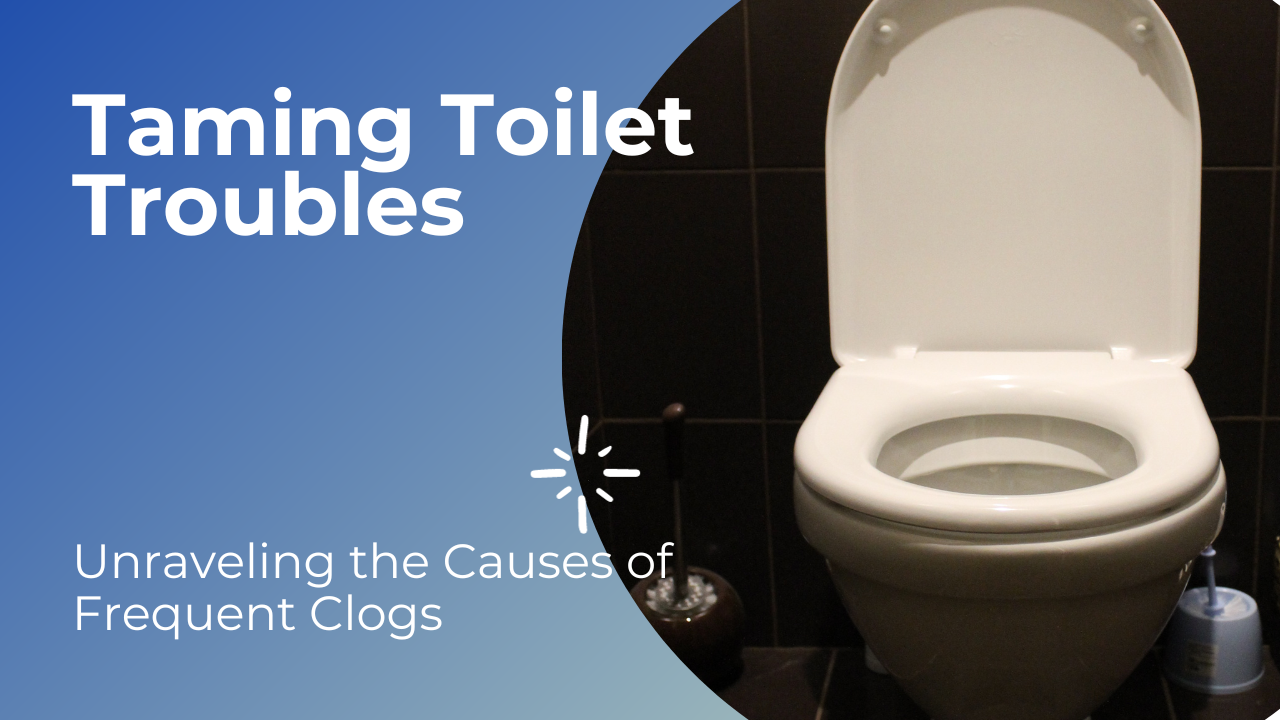
- Toilet Leak Detection: Test for toilet leaks by adding food coloring to the tank. If color appears in the toilet bowl without flushing, a leak is indicated, possibly from a faulty flapper or fill valve.
- Faucets and Fixtures Inspection: Examine faucets, showerheads, and fixtures for leaks. Tighten connections or replace washers to address issues, as dripping faucets are common culprits.
- Appliance Connections Examination: Inspect connections to water-utilizing appliances like washing machines and dishwashers. Check hoses, valves, and connections for potential leaks.
- Water Heater Evaluation: Investigate the area around the water heater for signs of leaks. Examine pressure relief and drain valves, replacing components if necessary.
- Outdoor Leak Inspection: Check for leaks in outdoor faucets, sprinkler systems, and hoses. Inspect hose bibs for signs of water seepage.
- Pipe Inspection: Inspect exposed pipes for corrosion, rust, or signs of moisture. Look for water stains on walls and ceilings, addressing leaking pipes promptly.
- Utilize Water Leak Detectors: Consider using water leak detectors in concealed or hard-to-reach areas. These detectors provide early alerts to potential water damage, helping you address issues before they escalate.
Faucet Repair: Step-by-Step Tutorial:
Leaky faucets are a common household woe, but fear not – fixing them is a manageable task that can save you both water and money. In this step-by-step guide, we’ll walk you through repairing a leaky faucet independently. Exercise caution, follow safety guidelines throughout the repair process, and consult a professional plumber if you’re unsure or uncomfortable.
- Turn Off the Water Supply:
- Locate shut-off valves beneath the sink or use the main water shut-off for your home to ensure a dry and safe working environment.
- Block the Drain:
- Prevent losing small parts down the drain by placing a stopper or rag in the sink drain.
- Identify Faucet Type:
- Determine your faucet type – compression (two handles), cartridge, ball, or ceramic disc, guiding the selection of replacement parts.
- Disassemble the Faucet:
- Use appropriate tools to remove the handle, cap, or cartridge. Carefully disassemble the components, keeping track of the removal order.
- Replace O-rings or Washers:
- For compression faucets, replace worn-out rubber washers. Replace damaged O-rings, cartridges, or faulty components in other faucet types.
- Clean Components:
- Enhance performance and longevity by cleaning mineral deposits or debris from the components using a cloth or an old toothbrush.
- Reassemble the Faucet:
- Carefully reassemble the faucet components in reverse order, ensuring proper alignment and secure tightening to prevent future leaks.
- Turn On the Water:
- Gradually turn on the water supply, checking for leaks. If detected, tighten connections or replace faulty parts as needed.
- Test the Faucet:
- Confirm proper functionality by running hot and cold water. Address any remaining issues and make necessary adjustments.
- Consider Professional Assistance:
- If problems persist or you encounter difficulties during the repair, seek the expertise of a professional plumber for a thorough assessment and resolution.
conclusion
Efficiently managing your home involves proactive measures to tackle common issues. By mastering the detection of water leaks and DIY faucet repair, you ensure your home’s well-being and contribute to water conservation and cost savings. Remember, while these DIY approaches are practical for common problems, seeking professional assistance is recommended for complex issues.